DIY Turn Your Hoop Art Into A Giant Patch Tutorial!
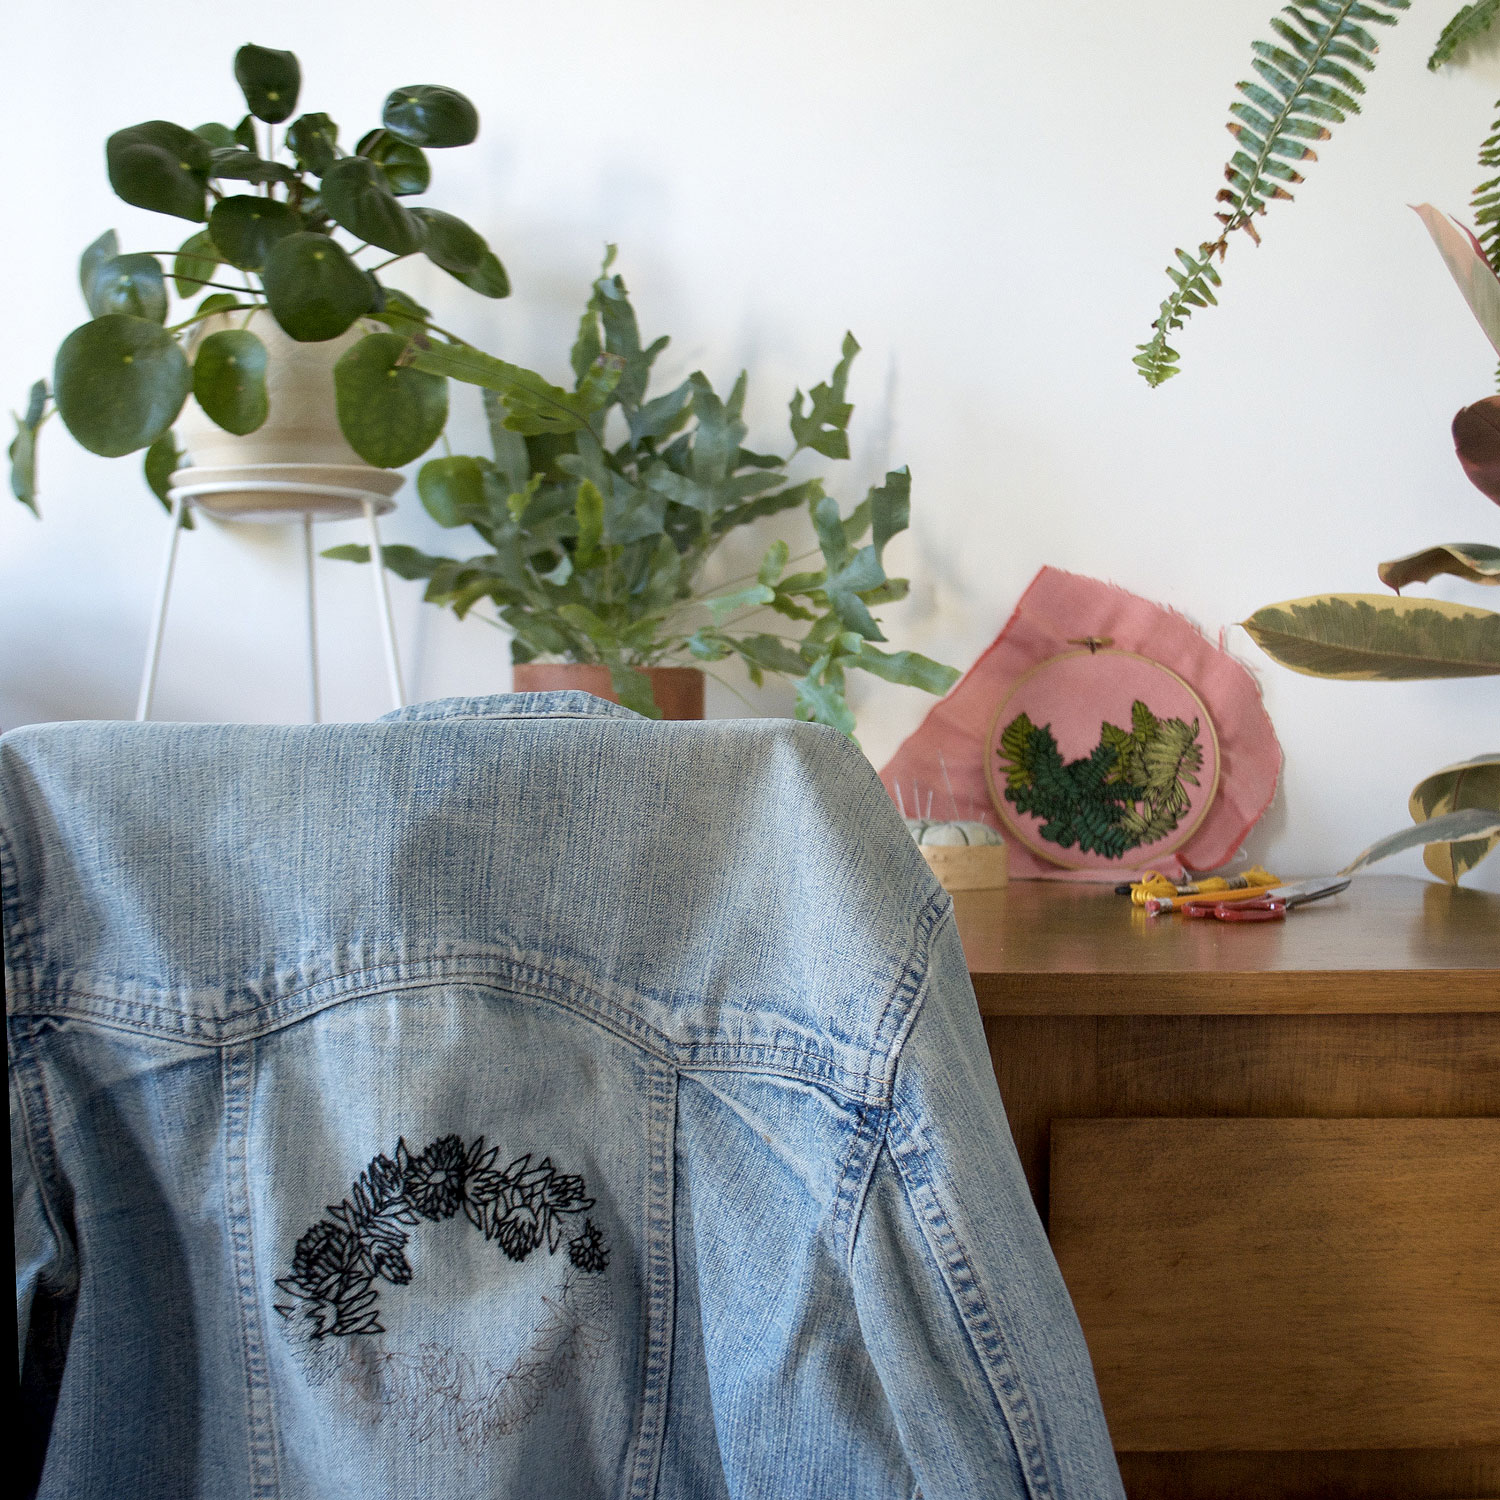
As someone who makes hoop art and writes hoop art DIY patterns for a living, I get asked a lot, “But what do I do with it?” Usually my reply is to hang your new artwork on the wall, but maybe that isn’t your style or you have enough hoops on the wall already, or for whatever reason that isn’t an option for you. It certainly isn’t the only option out there, which is where this little tutorial comes in!
I have been on a real clothing embellishment kick lately—spicing up my own wardrobe and planning a few pieces that will someday find their way to my shop (PLUS I am teaching an embellishment workshop August 18th in Vermont!)—and I thought this would be a great way to re-imagine and re-purpose some of my hoop art pieces!
So, here it goes! I hope you find it useful and inspiring!
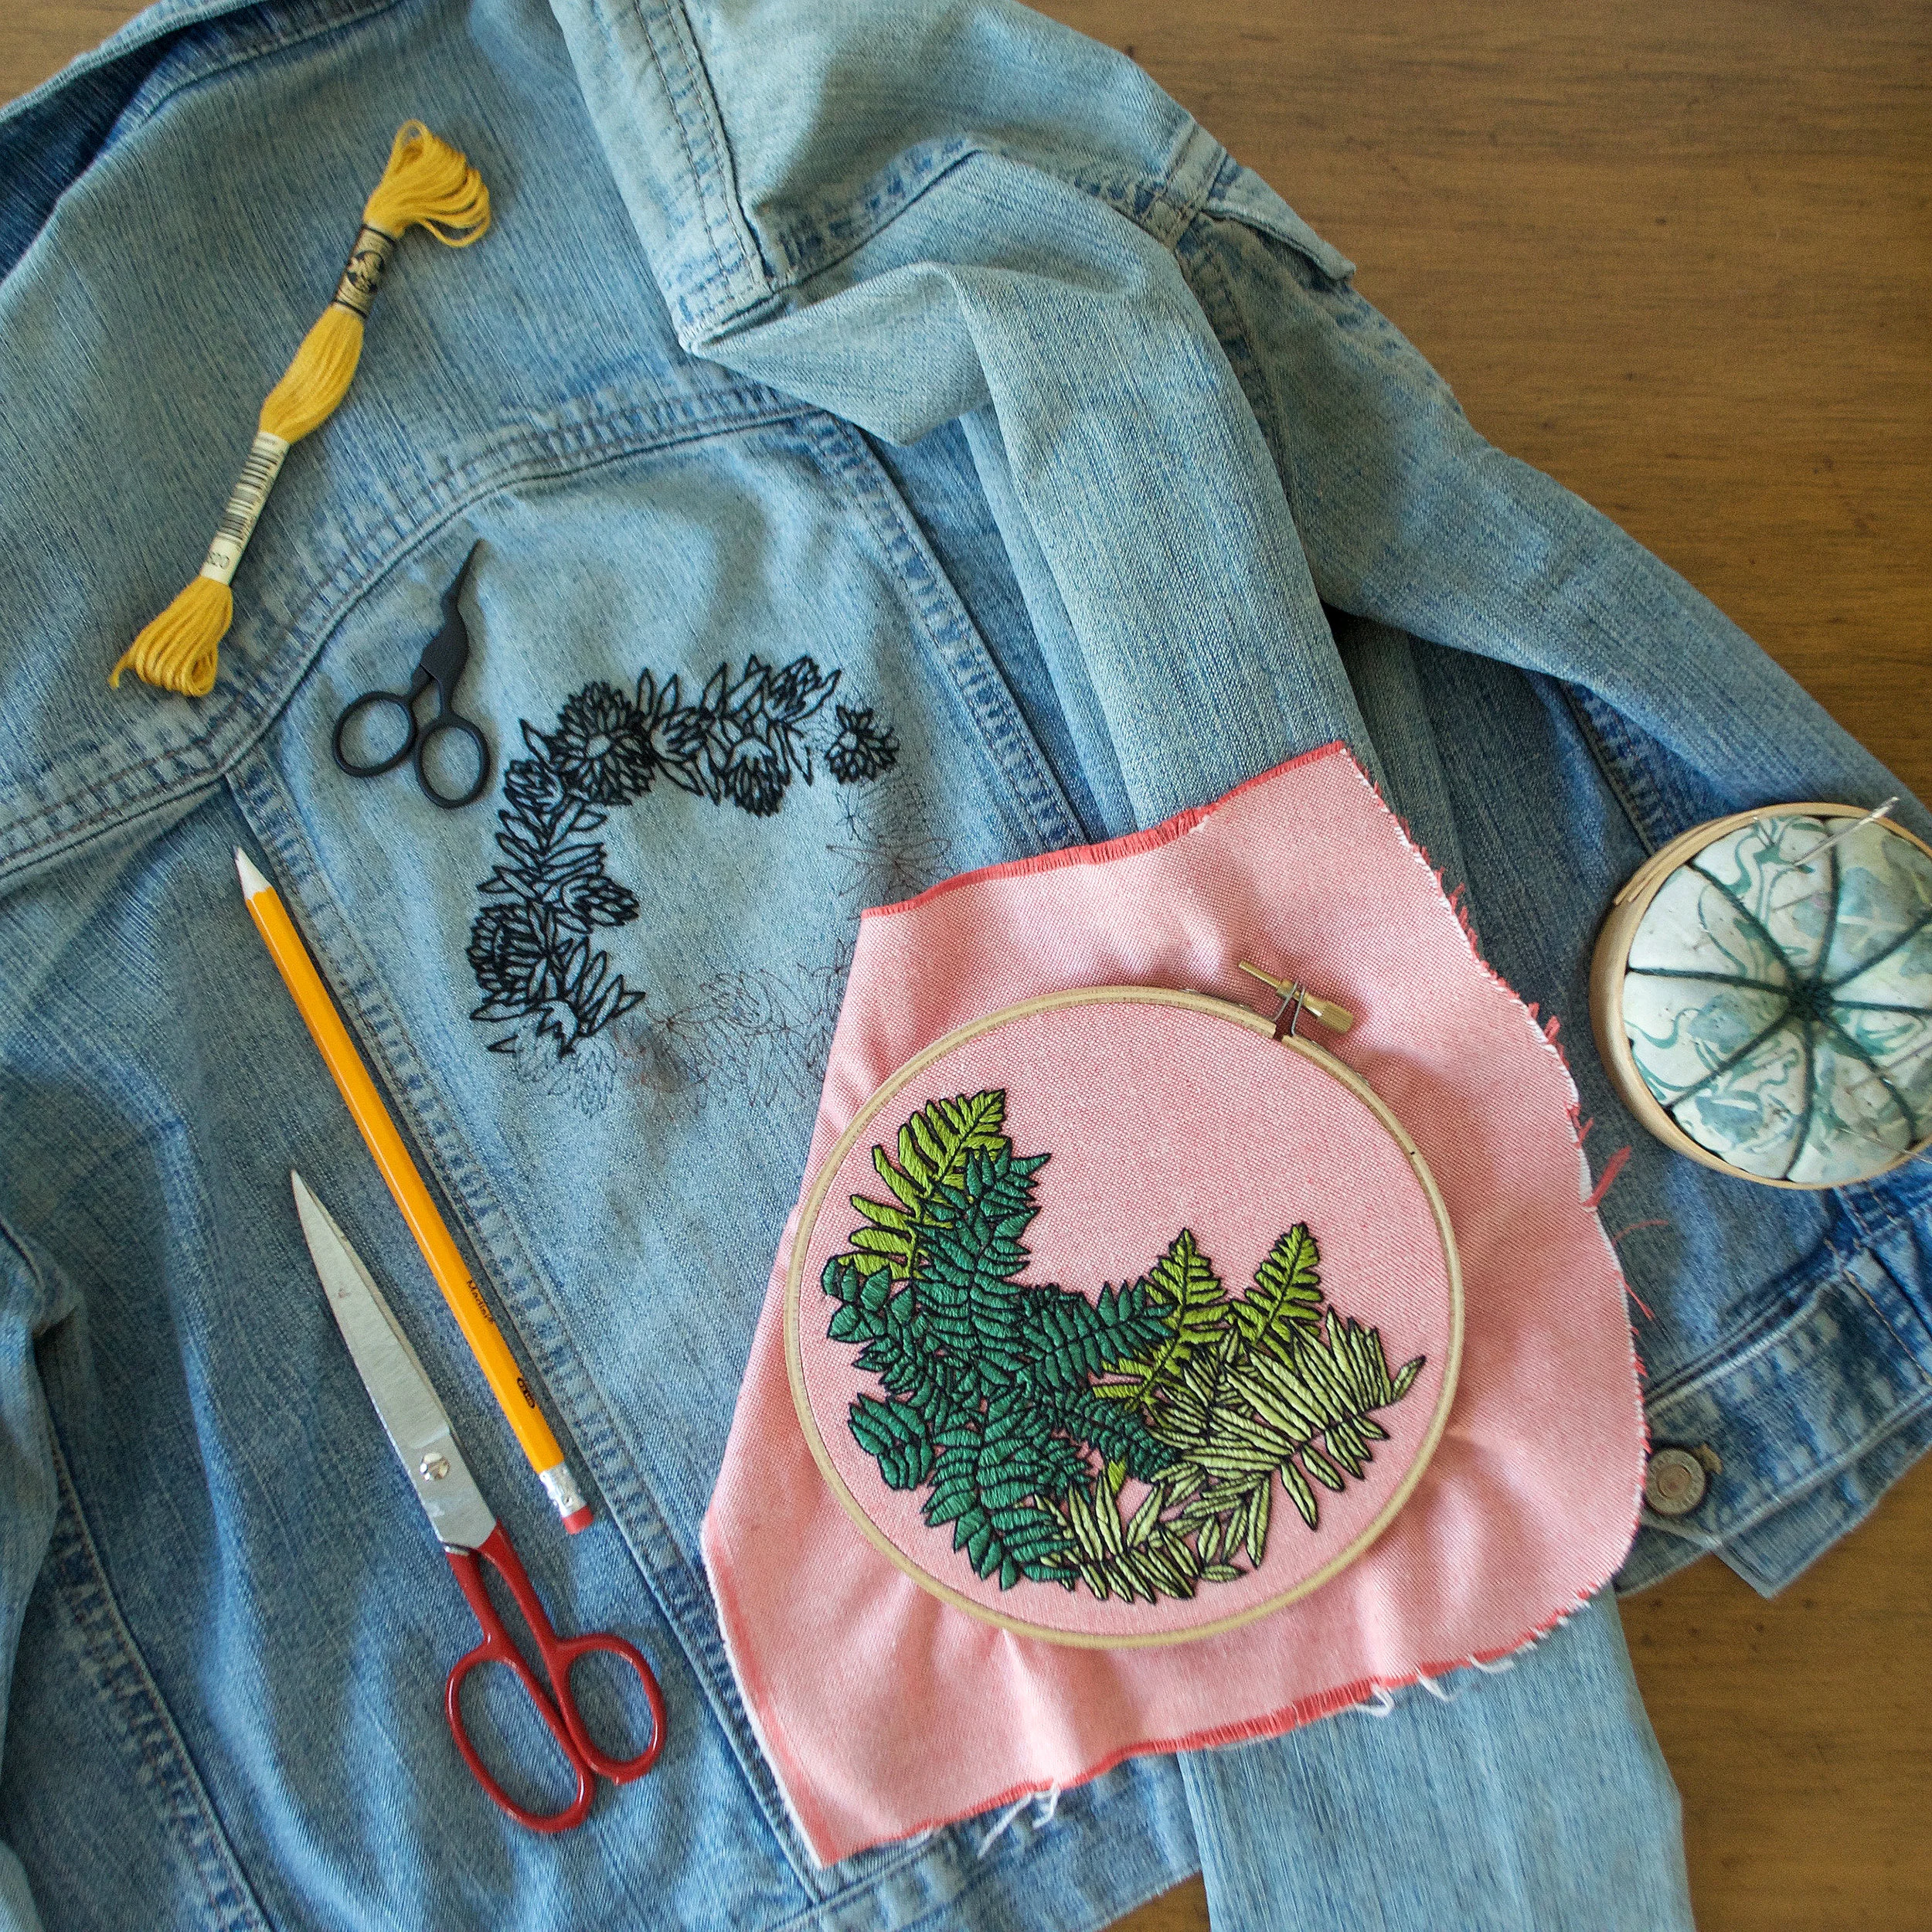

A piece of hoop art! I am using my July #SKBDIY Fern Forest Pattern. You can find it here!
An item of clothing (like a jean jacket) or other object (like a canvas tote).
Sharp fabric scissors and thread snips.
DMC embroidery floss and a needle.
You may also find it helpful to have an embroidery hoop—I am using a 7 inch hoop (it is one inch larger than my embroidery patch)—and a pencil. You can get by without these additional tools, but having them will make the process easier!

Complete your hoop art. As I mentioned, I used my recent Fern Forest Pattern. My PDF pattern will walk you through the steps to create your artwork. It is complete with the design itself, a suggested materials list, color guide, stitch diagrams, and step by step instructions.

Step 1: Complete your hoop art. (If you need some help with this head over here!
TIP: It is best to select a piece of hoop art that is made using smaller stitches. Very long satin stitches will sag and droop when removed from their original hoop, so be mindful! And, if you are putting your patch onto something that will be washed, be sure your original hoop art was made on pre-washed fabric to avoid any awkward shrinkage.

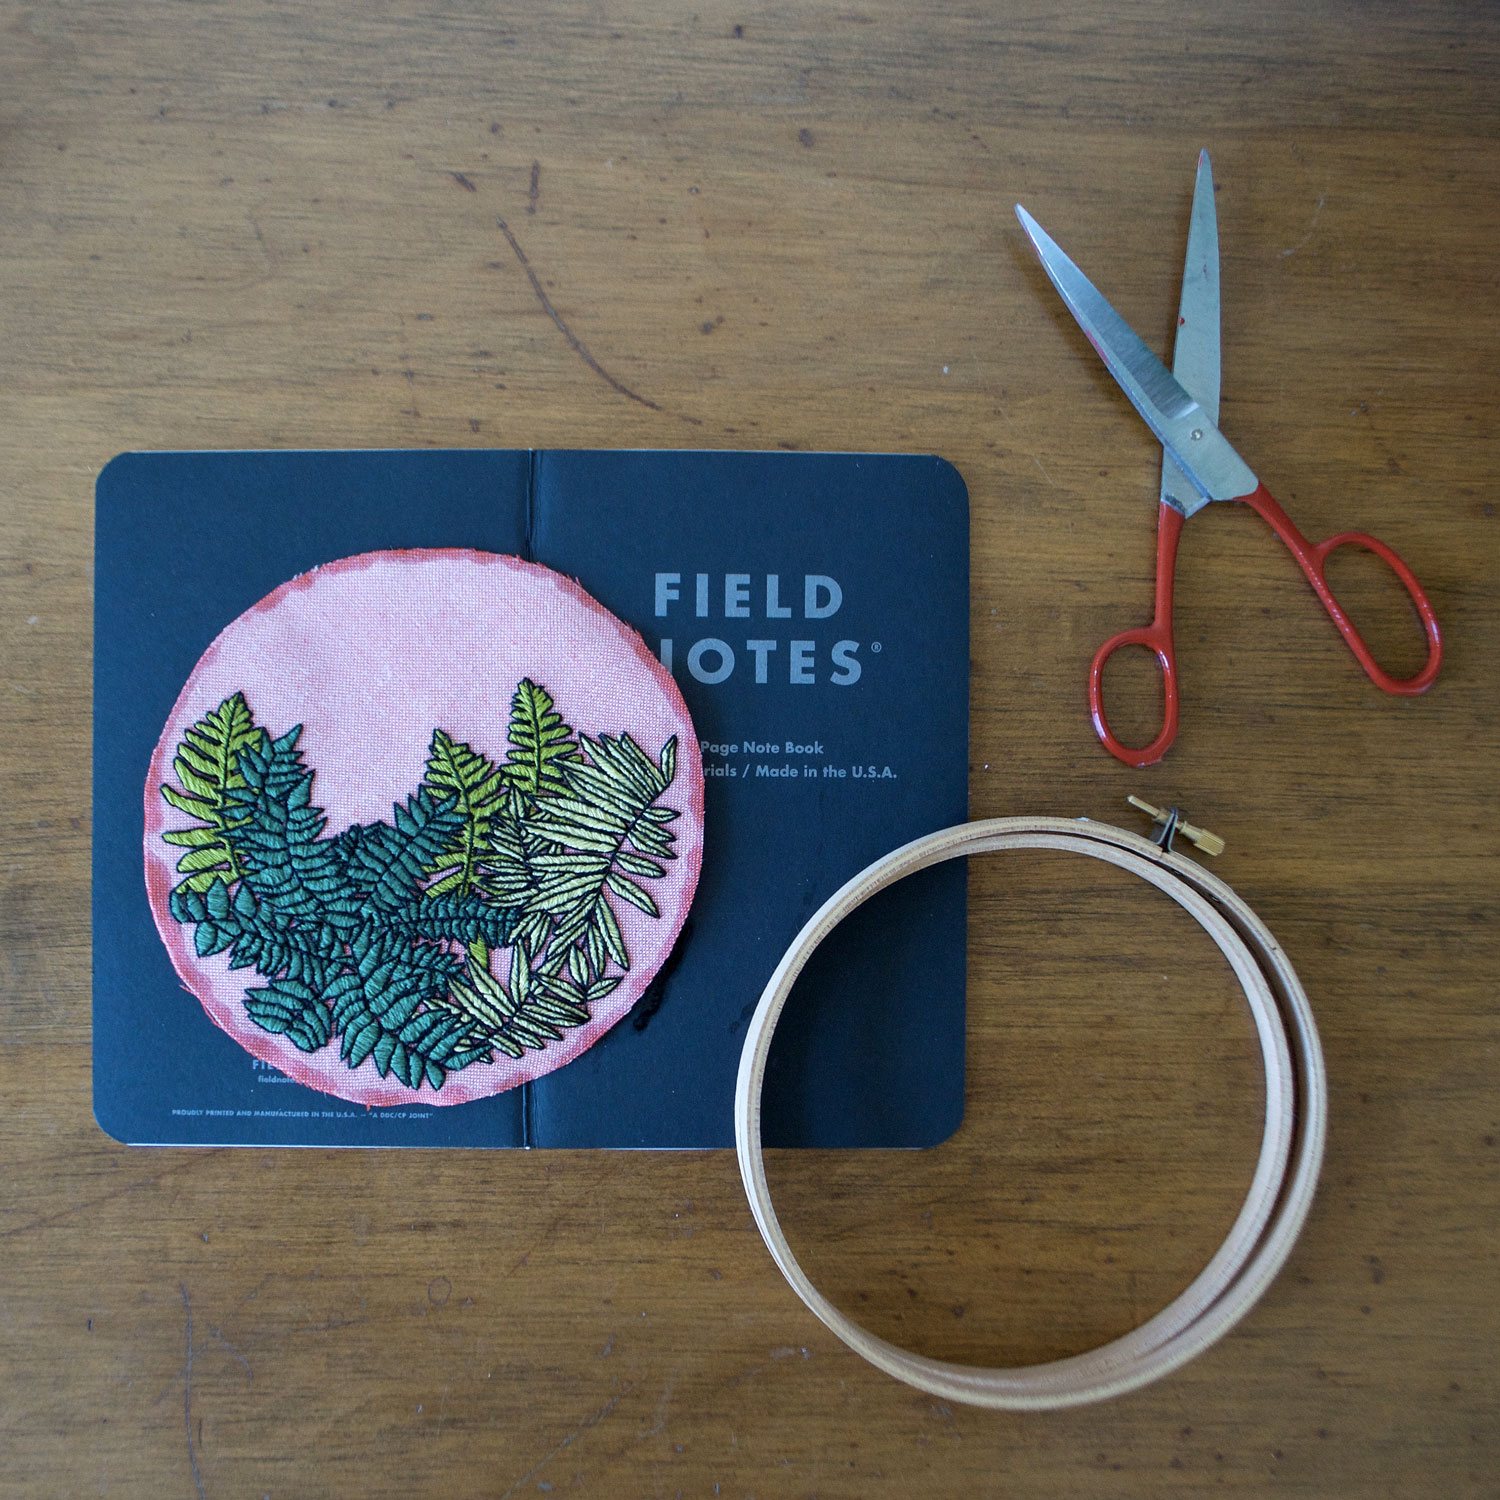
Step 2: Cut out your design.

Remove your completed hoop art from its hoop.
If you need to, you can use a pencil and the outer hoop to trace a guide for cutting around your stitching. You should have at least 1/4 inch of extra fabric around your stitching.
Use sharp scissor to cut along that guide line, being careful to avoid cutting too close to your stitches. You don’t want to undo any of your hard work!

Use Dritz Fray Check (not sponsored or anything—just what I have on hand!) and follow instructions on the bottle to prevent any fraying along your cut line.
This stuff is runny and comes out fast, so it’s best to have a piece of cardboard or something underneath.
Step 3: Use Dritz Fray Check around the edges of your fabric.
I didn’t have any cardboard nearby, so I used a sketchbook. And don’t worry! The Fray Check dries clear—at least, it did on the cotton fabric!

Step 4: Use a running stitch to place and secure your patch.

Place your soon-to-be-patch on your jacket or bag (or whatever) and use a running stitch to hold it in place. This running stitch can be big and loose and will be covered up in the next step, so keep it pretty close to the edge of your fabric.
I used size 8 pearl cotton for this stitch because it was on hand, but any kind of thread will work here—a strand of embroidery floss, some sewing thread, etc.

Use satin stitch to complete your patch. I made mine about 1/4 inch wide starting at the very edge of the fabric and going in towards my embroidery. If you need to, you can use your pencil to draw a guide line or guide lines to keep the width of your stitching consistent.
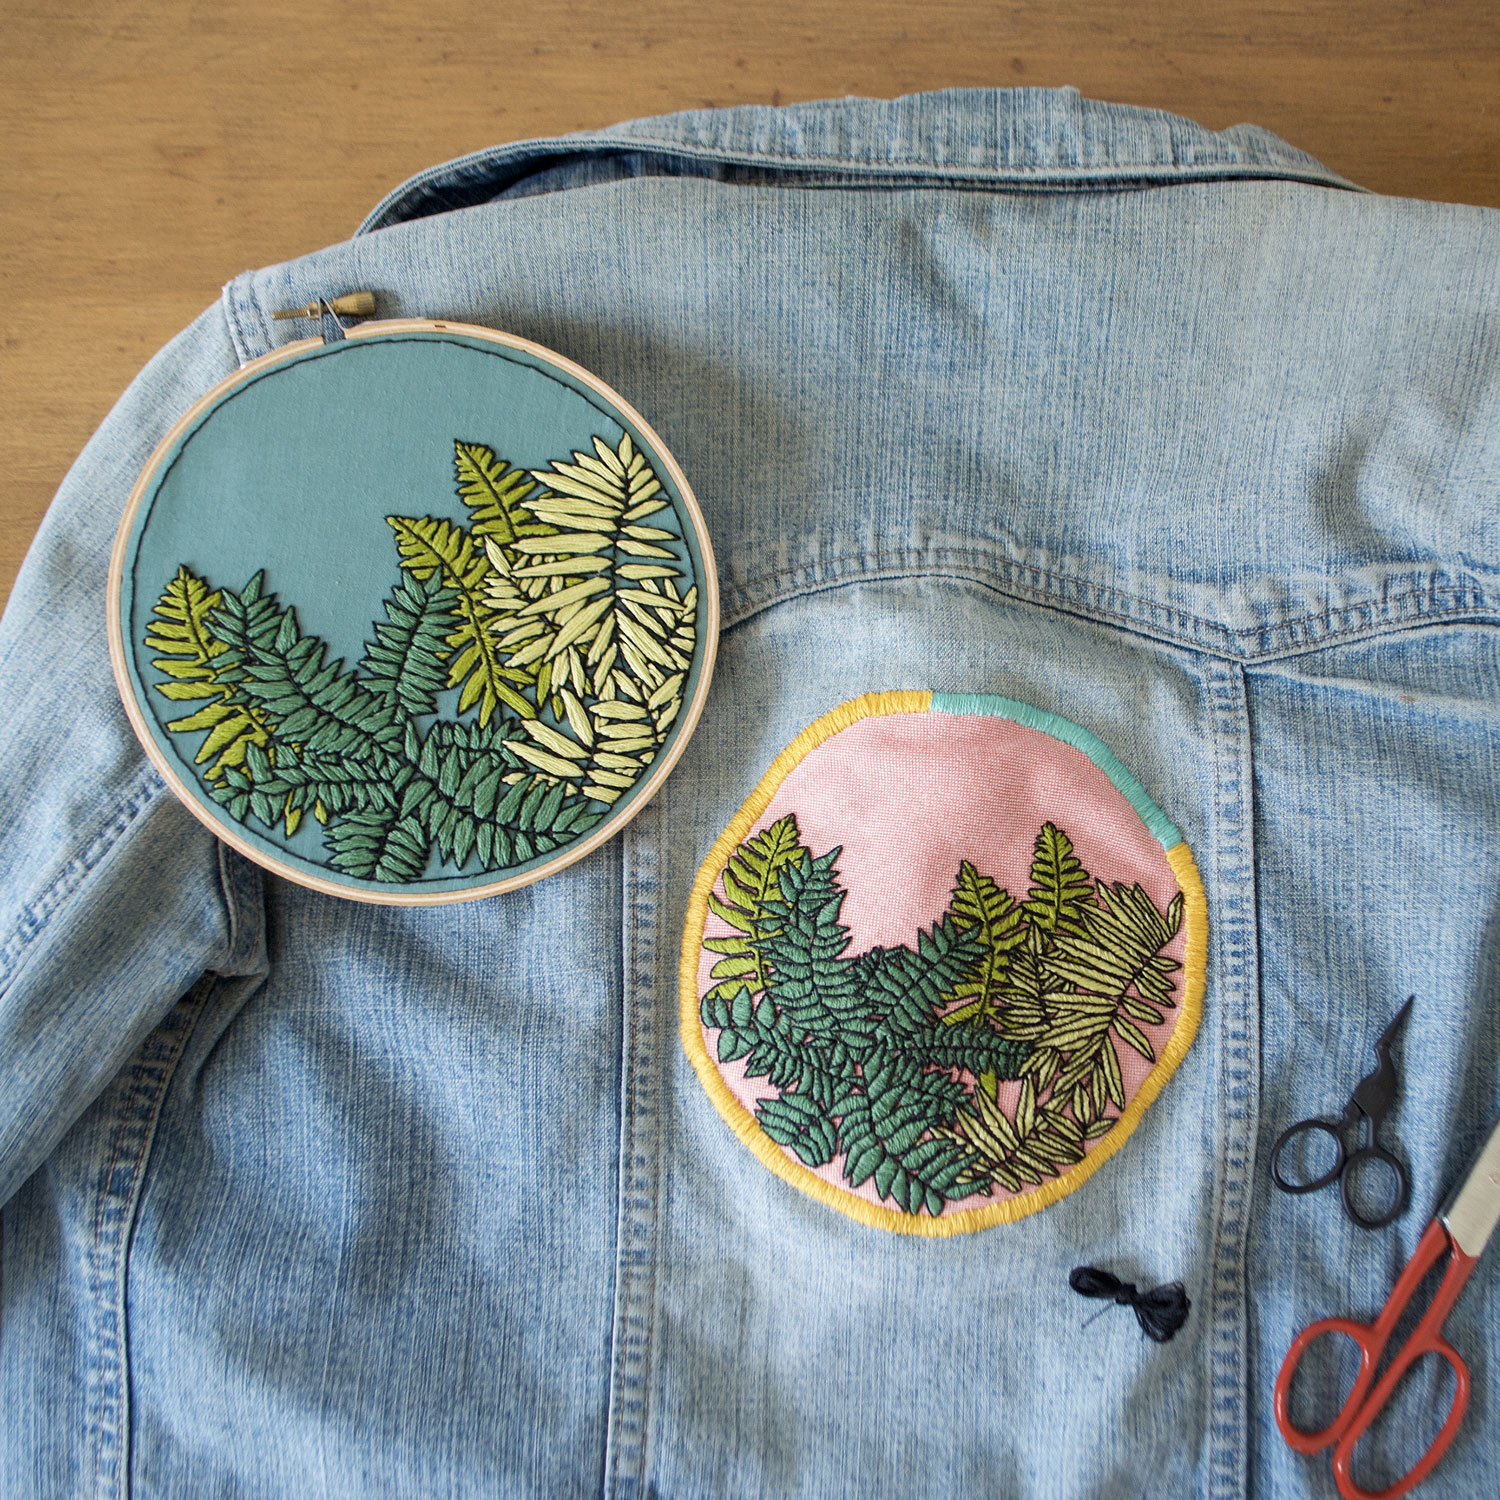
Step 5: Use satin stitch to complete your patch!
TIP: Have more embroidery floss on hand than you think you will need. You see that blue section of satin stitch? Yeah, that’s where I ran out of the yellow I was using. ALSO, using a hoop to stabilize the fabric while you are working is very helpful! You may need to iron the piece once you have finished stitching to get rid of any marks left from the hoop.
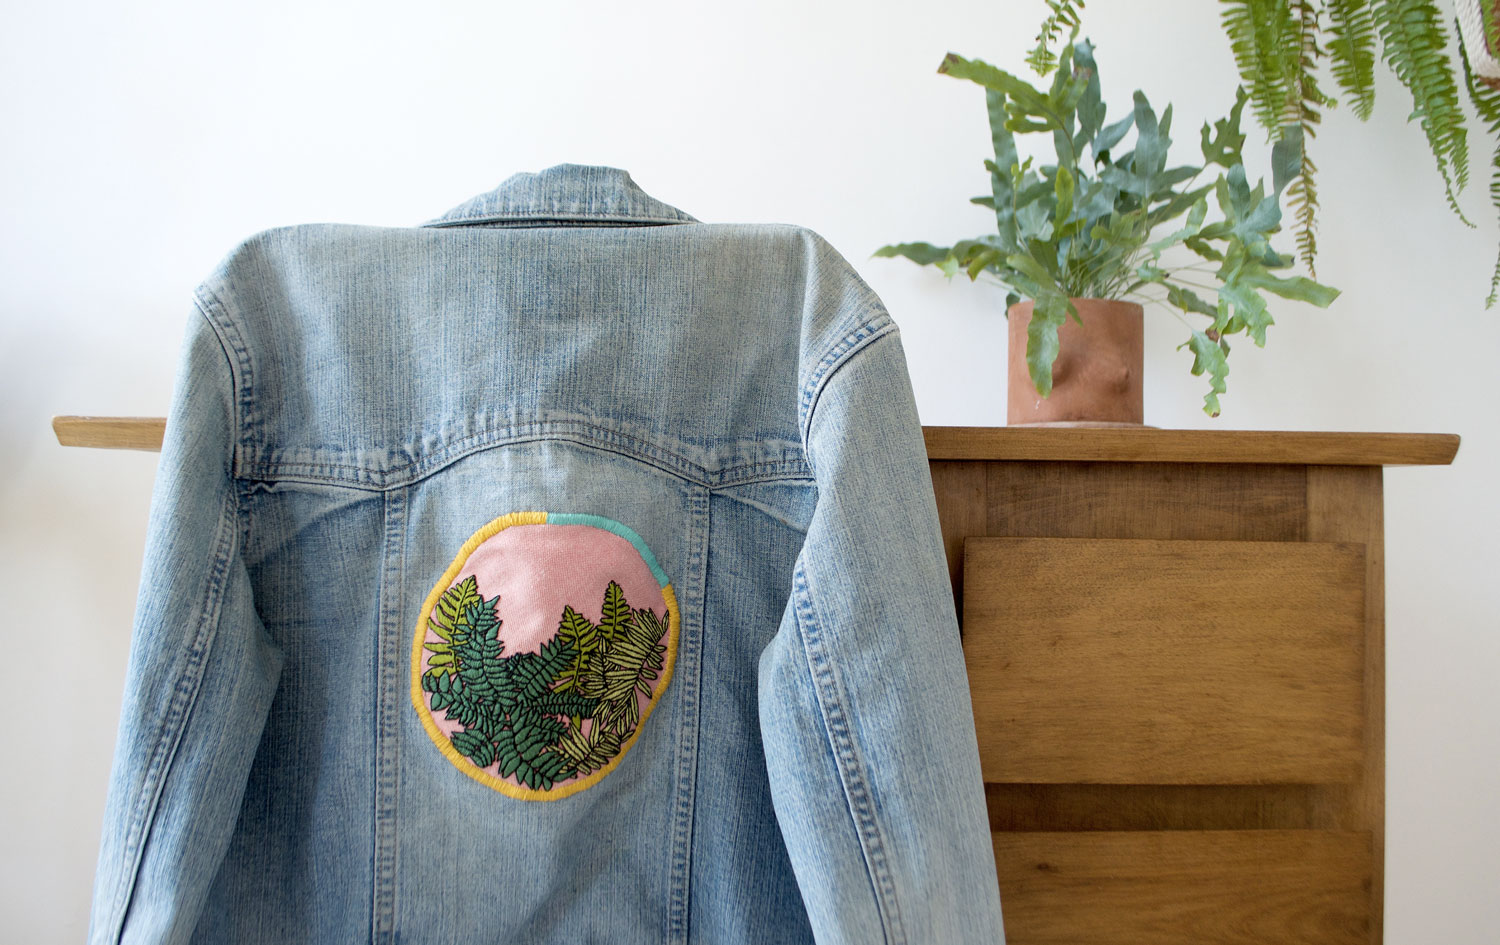
And there you go! Now you are ready to wear your new totally amazing, customized piece out and about! Get ready for some compliments and if anyone is curious how you did it, be sure to send them this way!
