Light Box Method: Transferring your pattern
Light box method
How to transfer an embroidery pattern using a light box (or other light source)
The light box method is a simple, low-tech way to transfer embroidery digital embroidery patterns onto fabric—perfect for simple designs and light-weight fabric. Let’s get started!
You’ll need:
Printed embroidery patterns (new SKBDIY patterns can be found here or you can explore the archive!)
Light box, bright window, or screen (if using a tablet or computer screen, you can skip the printing.)
Fabric of your choice — this method works best with light-weight and lighter color fabric
Pencil, washable fabric marker, or friction transfer pen — the stitches you choose may influence what type of drawing utensil you need. If you are covering the whole design in satin stitch, all of your marks will be covered. If you are using more linear techniques, you may want to use a water or heat-soluble embroidery pen to trace.
Tape (optional)
method:
Set up your light box. Turn on your light box or tape your pattern to a well-lit window.
Place your printed pattern face up on the light box. Secure with a small piece of tape if needed.
Hoop your fabric. It is easier to trace if your fabric is already stretched tight in a hoop.
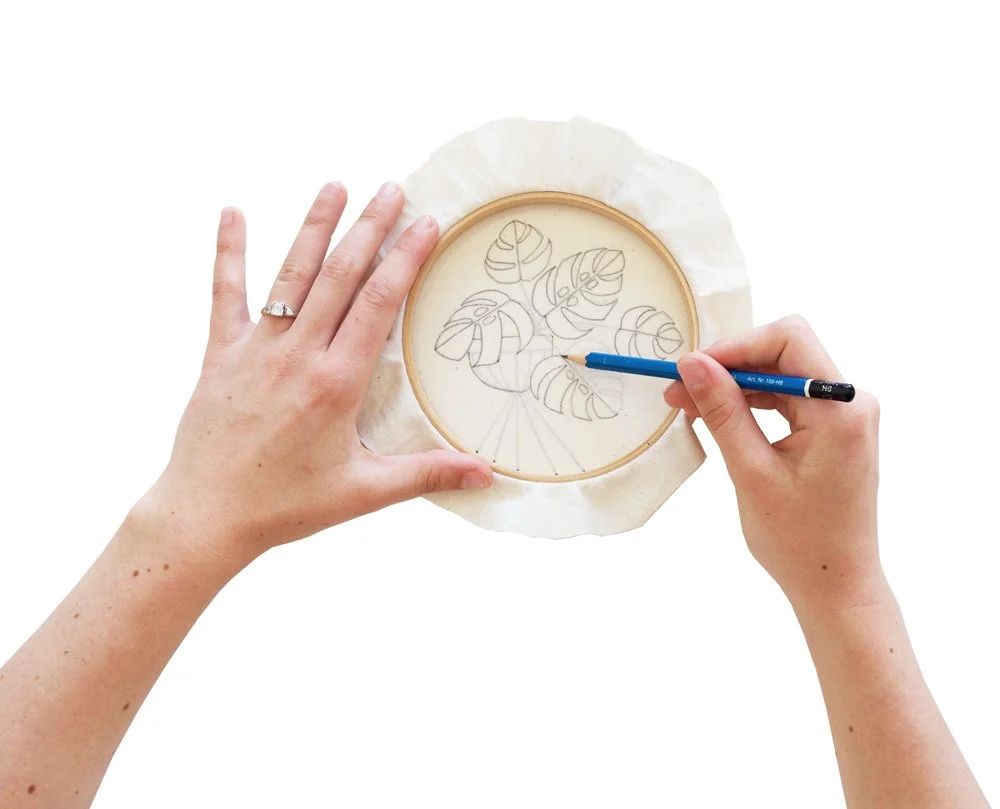
Position your hoop and fabric face down over the pattern and trace using your preferred drawing utensil. Your pattern will be traced on the backside of the hoop, but this is the easiest way to get crisp, accurate lines. Take your time — and if you’re holding your hoop up to a window, take breaks!
Double check your lines. When you’re done, lift your hoop and fabric off of the light box to check that you traced the entire design clearly. Fill in any gaps if necessary.
Un-hoop and flip your fabric, repositioning the design to the front side of the hoop. Your lines may get a little wiggly when you flip the fabric. Do your best to re-stretch your piece evenly in the hoop and clarify any faint lines as needed.
Start stitching! Gather your threads and get to work.
tips:
Choose a fine-tip marker for detailed patterns.
Work on a bright day if using a window as a light box.
If your fabric is thick or a dark color, you may need a brighter light to improve visibility. You may also want to use a white pencil or pen for tracing on dark fabric as it will be easier to see.
If you want to avoid the need to flip your fabric after tracing, you can try taping un-hooped fabric over your design for tracing. You’ll need a light touch with your pen to avoid bunching or moving the fabric.


