
Quilt Stars PROJECT IDEAS for Patterns + PEEL.STICK.STITCH. Packs
Stitch. Cut. ADORN.
While PEEL.STICK.STITCH. packs are all about you and your creativity, this is the place to be if you need a little extra guidance or project inspiration! This page will continue to evolve as Sarah dreams up new applications for these designs!
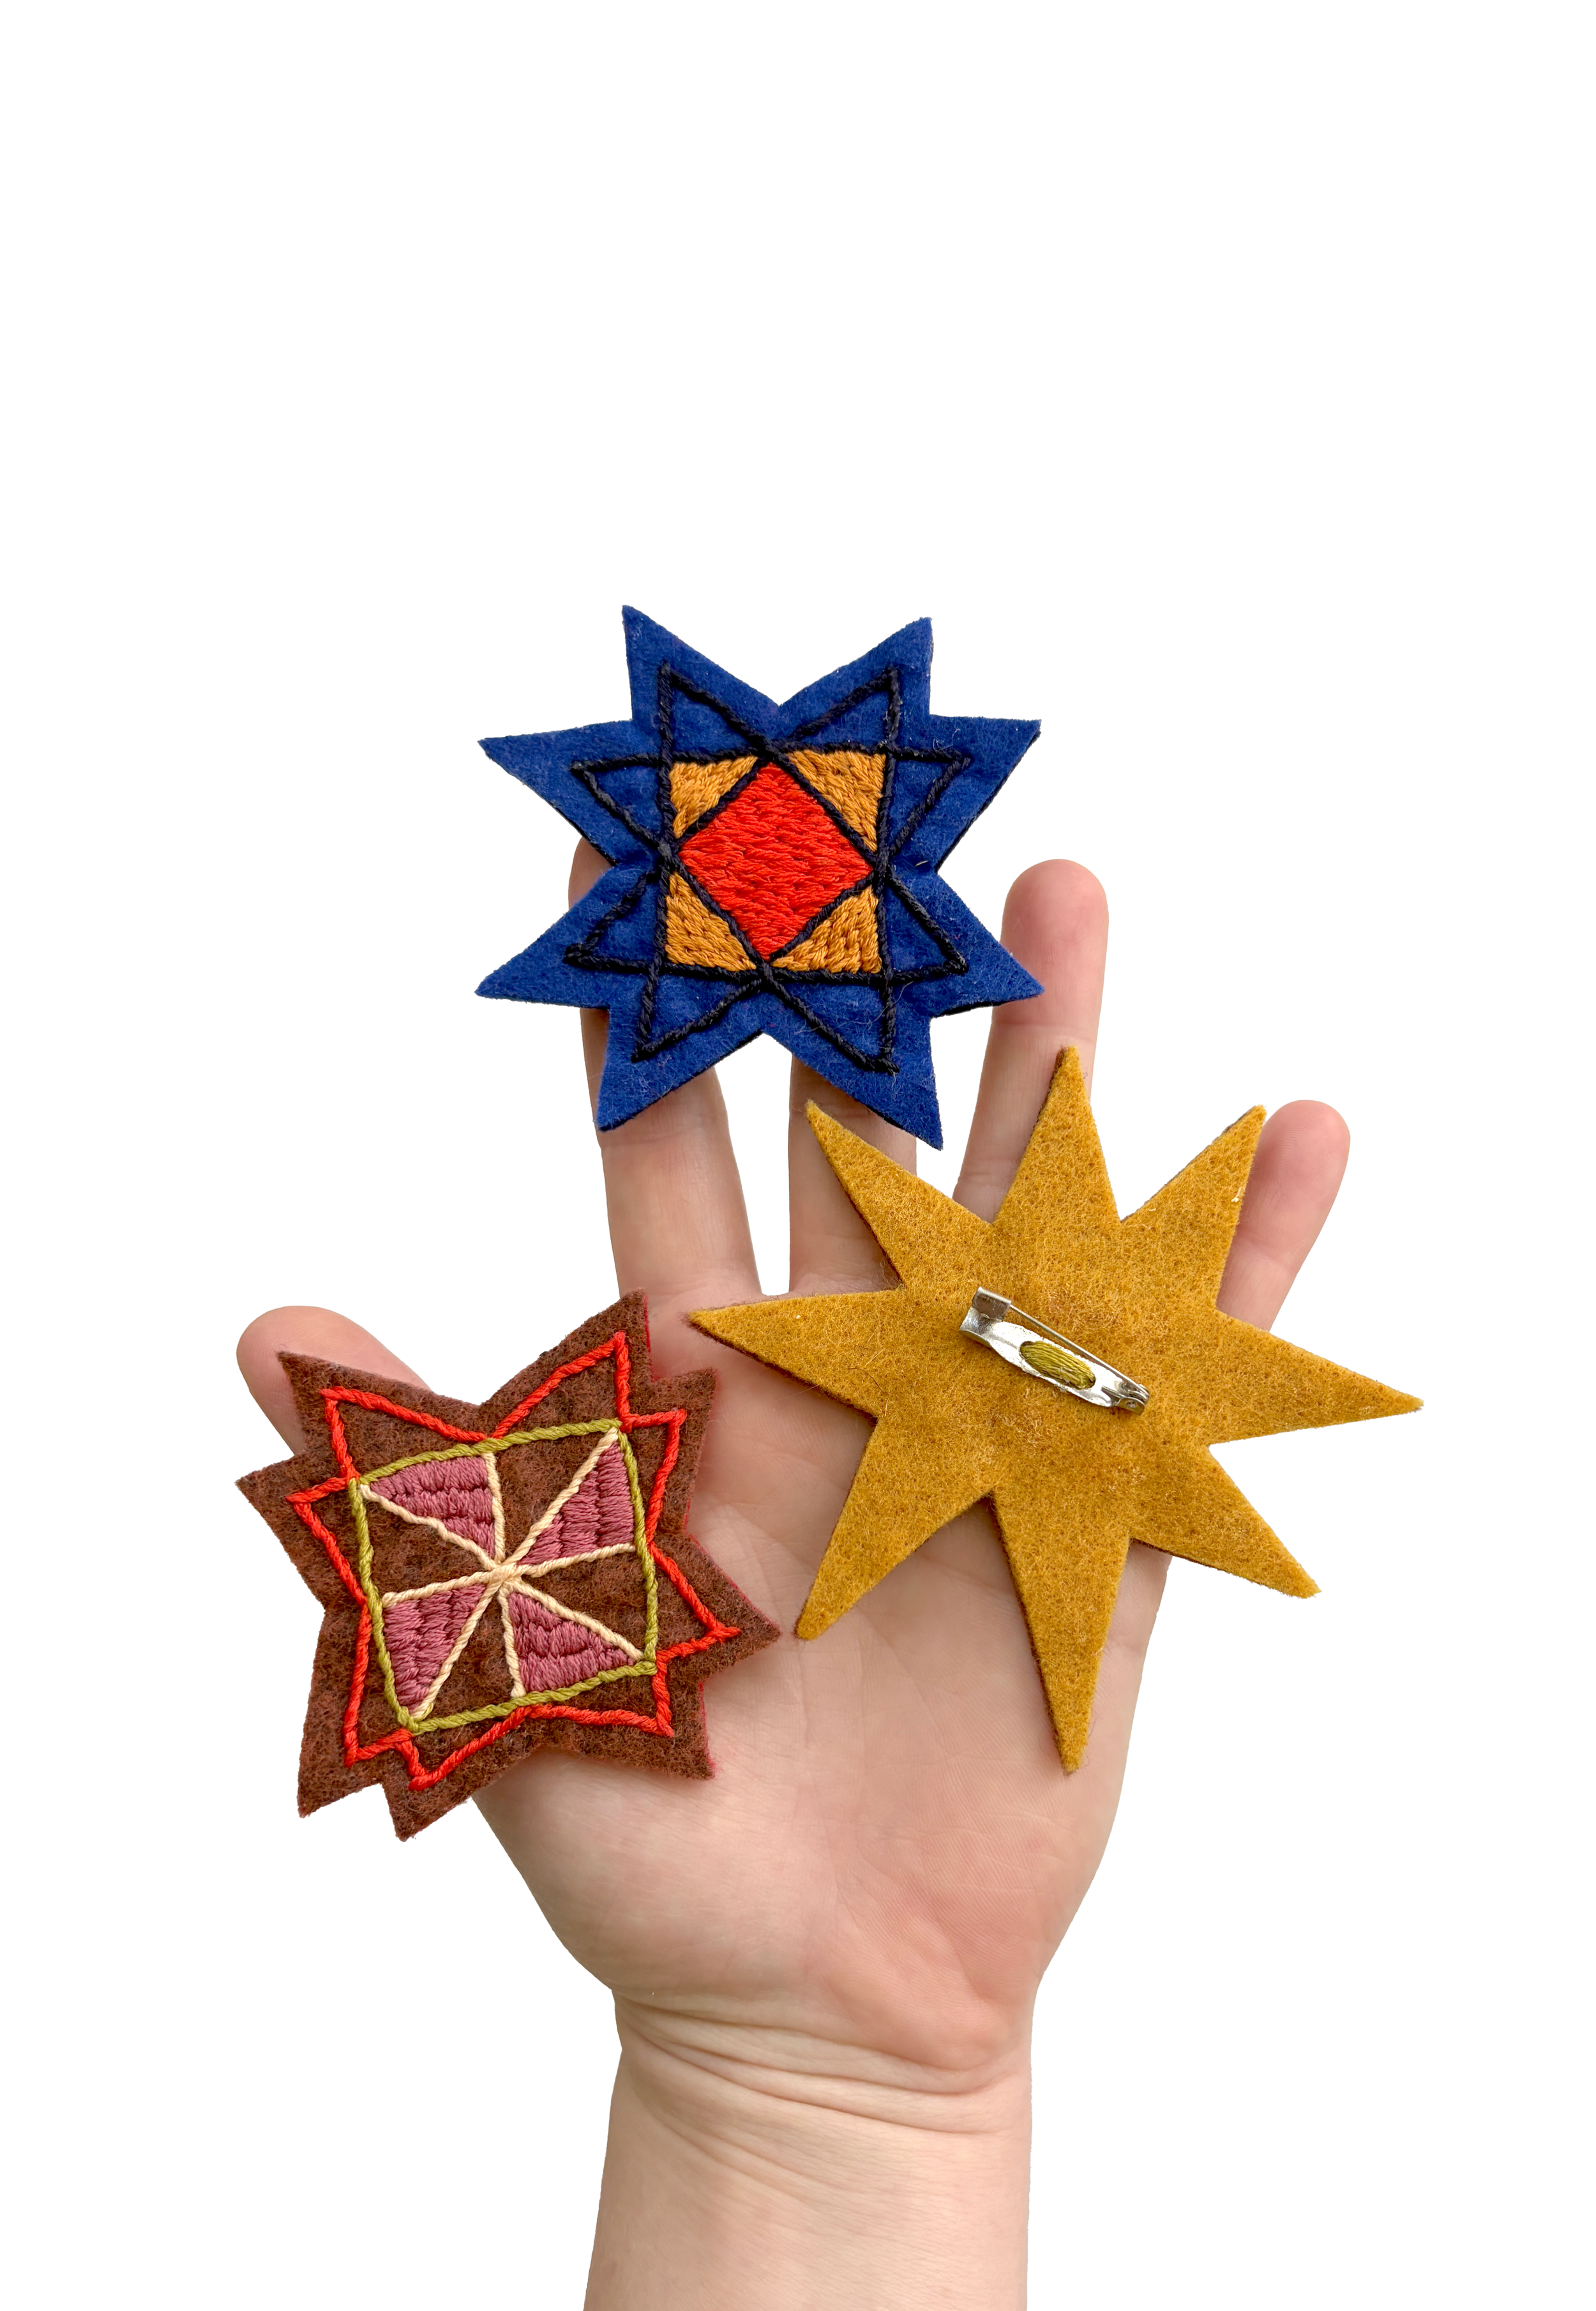
project idea: Felt Brooch
Pick motifs from the Quilt Stars PEEL.STICK.STITCH. pack (or any PEEL. STICK. STITCH. pack, really) and create wearable artworks!
suggested materials:
Felt in a color of your choice
Bar Pin
Tacky Glue (optional)
Scissors for trimming pattern sheets and thread
Hot water for rinsing away excess stabilizer
Embroidery hoop (optional)
Needle(s) — Size 5 embroidery needles or size 20 chenille needles are great sharp options for backstitch. You might also want a size 20 tapestry needle for whipped backstitch.
favorite colors:
This project can really be completed using any of your favorite fibers or colors as long as they are colorfast.
Sarah likes 606 (hot red!), 730 (chartreuse), 920 (orangey brown), 3726 (mauve), 823 (deep blue, almost black), 353 (pale pink)
suggested stitches:
Whipped Backstitch
Short and Long Satin Stitch
method:
Cut out the desired Quilt Star motif from the PEEL. STICK. STITCH. sheet and stick onto your felt. If you’d like to use a hoop to support the felt while you stitch, make sure your felt piece is large enough to fill the hoop. You will trim it later! However, a hoop is not necessary for this project.
Thread your needle and knot one end leaving the other end loose. Begin stitching from the back of the felt following the lines of the design. You can use any stitches to create a brooch—make it linear, fill it all in, it’s all up to you! If you need them, you can find stitch diagrams here.
Rinse the excess stabilizer away using hot water once you have completed all the line work and lie flat to let it dry completely. It may take awhile to dry. You can use a hair drier if you need to speed up the process.
Trim the felt leaving 1/8-1/4 inch boarder around your stitches. Now the front of your brooch is complete!
Cut a second piece of felt large enough to fully back your broach. Position the bar pin in the center and stitch it on, beginning on the back of the felt so the knots in your thread end up inside the brooch.
Use tacky glue (or other craft/fabric glue) to adhere the front of your brooch to the back, making sure the bar pin is in the center and oriented the way you would like. Let the glue dry completely. Once dry, the felt broach will be stiff.
Use sharp scissors to trim the felt backing to match the front of the broach.
Tips:
ALTERNATIVELY, you can use a blanket stitch around the edges to attach the front and back of the brooch if you would prefer not to use glue.
Tapestry needles have blunt tips making them ideal for whipped stitches. The dull end is less likely to snag in the stabilizer or split your thread.
To conserve water, you can soak your felt in a bowl of hot water to dissolve the stabilizer. You might need to use your fingernail to scratch away stubborn bits in corners. You can also toss your top into the washing machine, which will also dissolve the stabilizer.
Since this embroidery will live outside of a hoop, keep your stitches on the shorter side so they don’t get distorted.
You can use this project idea as a guide for any combination of peel and stick patterns and motif layouts.
